

How to change Remote Desktop (RDP) port on Windows Cloud Servers
Server security is a very important thing to think about these days and you can increase the security level of the server with some very small changes. Windows servers can access remotely with Remote Desktop via the TCP 3389 port (default port). You can increase the security of the server by changing the default port used to connect to RDP and this requires a change in the Windows registry.
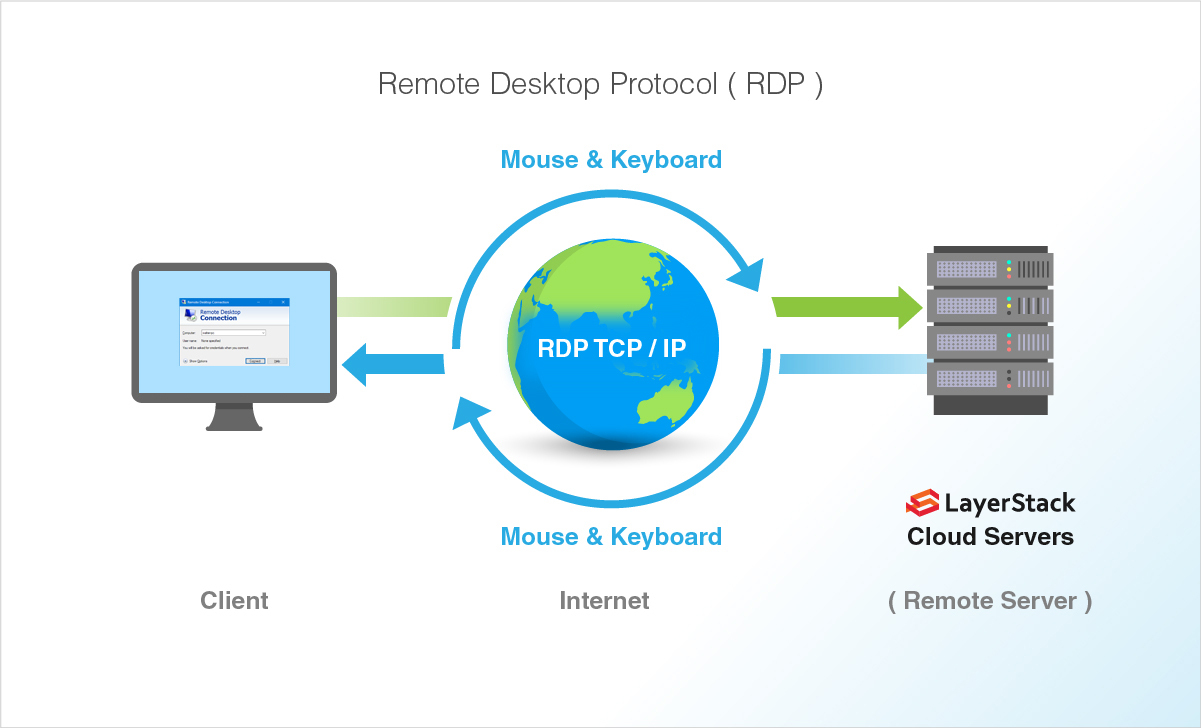
This article will guide you how to change the RDP port for your Windows server.
-
To open the
Windows Registry, just click on the Windows key to open start and searchregeditand then click on theRegistry Editorwhich is shown in the below image.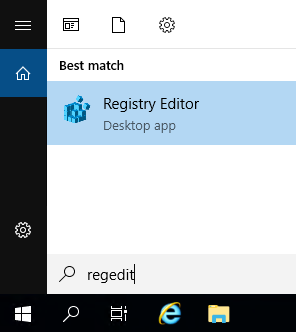
-
Go to the registry key which mentioned below. You can refer to following 2 images.
HKEY_LOCAL_MACHINE\System\CurrentControlSet\Control\Terminal Server\WinStations\RDP-Tcp;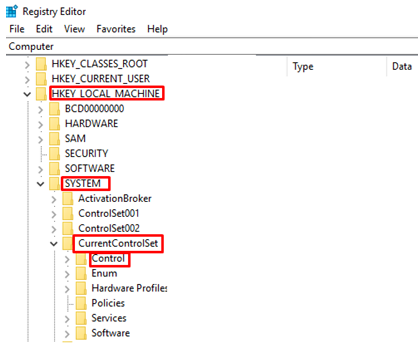
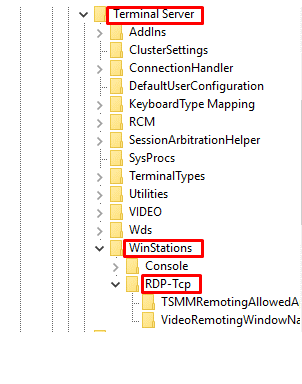
-
Double click on the
Port numberoption which shown in the below image.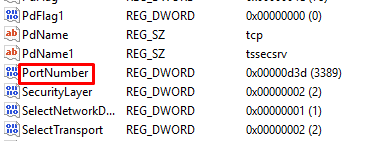
-
Once double clicked on the PortNumber option, you will get a box as in the below image. Then select the Decimal and enter the new port number into the
Value Datafield and then clickOK.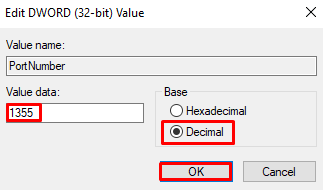
NOTE: Enter the original custom port number into the
Value Datafield, here1355is only for sample. -
Reboot the server for the changes to take effect and then access the server with the new custom port.