
How to Enable & Disable SSH login on Linux Cloud Servers
SSH (Secure shell) is a cryptographic network protocol used to connect to a remote server securely and it transfers the data in encrypted form between the host and the client. The default TCP/IP port for the SSH is 22.
This guide will describe the steps to enable and disable SSH login in the Linux server.
CentOS
By default, the OpenSSH Server Software Package is included on CentOS. If it is not present, please complete the following procedure.
-
Run the below command to install
OpenSSH Server Software Package.# yum install openssh-server openssh-clients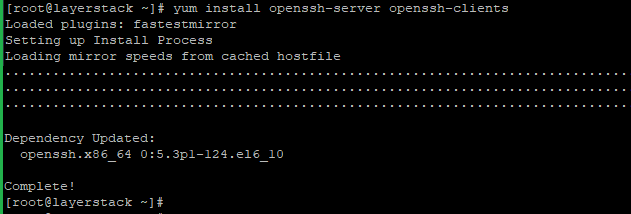
-
Run the below command to start and check the status of the
SSH daemonon the OpenSSH server.# systemctl start sshd # systemctl status sshd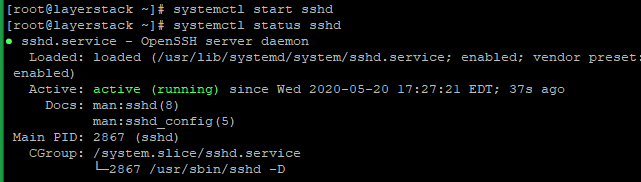
Enable SSH login (CentOS)
-
Run the below command and then reboot the server to Enable SSH.
# systemctl enable sshd
-
Once it is enabled, the server can access it via PUTTY as shown below.
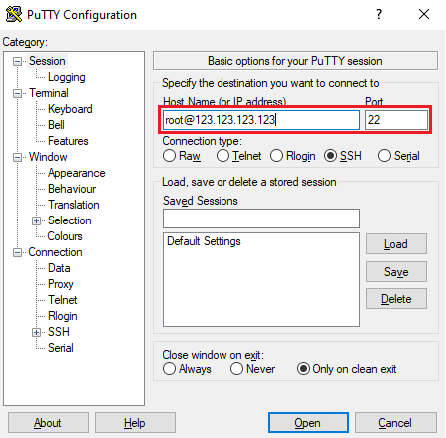
NOTE: Replace the sample IP (123.123.123.123) with the original server IP and replace the port if set custom.

-
Enter the password to access the server.
Disable SSH login (CentOS)
-
Run the below command and then reboot the server to Disable SSH.
# systemctl disable sshd
-
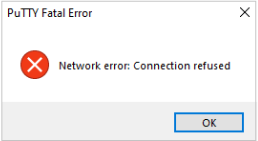
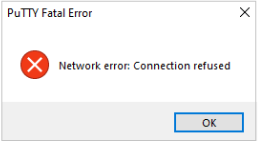
Once the SSH is disabled, then will get the below warning message while trying to SSH to the server.
Ubuntu / Debian
By default, the OpenSSH Server Software Package is included on Ubuntu & Debian. If it is not present, please complete the following procedure.
-
Run the below command to install
OpenSSH Server Software Package.# apt-get install openssh-server -y
-
Run the below command to start and check the status of the
SSH daemonon the OpenSSH server.# systemctl start sshd # systemctl status sshd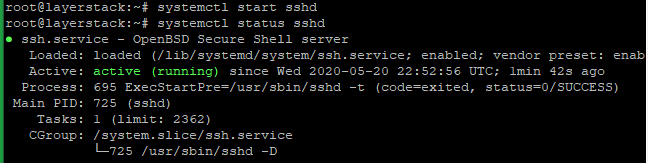
Enable SSH login (Ubuntu / Debian)
-
Run the below command and then reboot the server to Enable SSH.
# systemctl enable ssh
-
Once it is enabled, the server can access it via PUTTY as shown below.
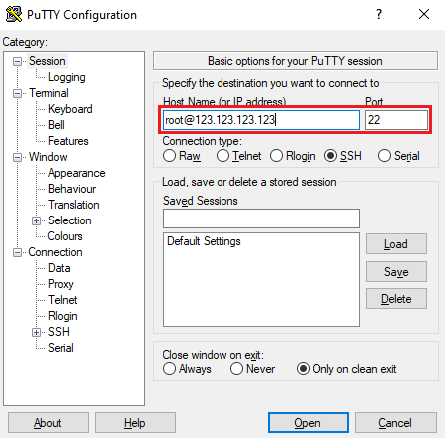
NOTE: Replace the sample IP with the original server IP (123.123.123.123) and replace the port if set custom.

-
Enter the password to access the server.
Disable SSH login (Ubuntu / Debian)
-
Run the below command and then reboot the server to Disable SSH.
# systemctl disable ssh
-
Once the SSH is disabled, then will get the below warning message while trying to SSH to the server.