

How to Install Proxmox on Debian 11 Server
In this tutorial we will go over how to install Proxmox Debian 11. If you are looking for a dedicated server to run Proxmox on, consider RackNerd’s dedicated server plans here. Our dedicated servers can be installed/configured with Proxmox and are ideal if you are looking to create multiple virtual machines!
What is Proxmox? Proxmox VE is an open-source virtualization tool used for deploying and managing virtual machines. It is based on QEMU/KVM and LXC. You can manage virtual machines, containers, highly available clusters, storage and networks with an integrated, easy-to-use web interface or via CLI.
Prerequisites:
- Bare Metal/Dedicated Server running Debain 11 x64 (Bullseye)
- Intel 64 or AMD 64 CPU with VT-X Support (Virtualization) – FYI: All of RackNerd’s dedicated server plans include VT-X Support.
Step 1: Connect to your Debian dedicated server via SSH
Step 2: Update your Debian OS
sudo apt update -y
sudo apt upgrade -y

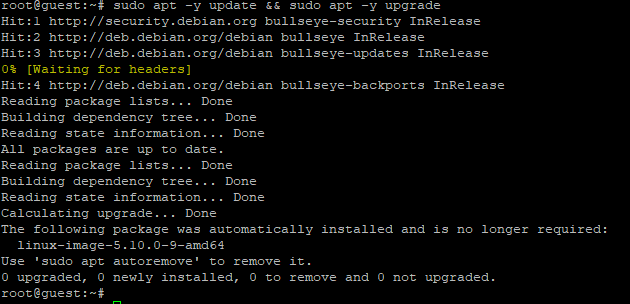
Step 3: Reboot your server to apply updates (skip this step if all updates were already applied)
reboot
Step 4: Set a hostname for your server:
sudo hostnamectl set-hostname racknerdproxmox.test.com –static

Step 5: Check the IP address of your network interface and update the record in your /etc/hosts file with hostname that you set earlier with IP address matching network interface.

Step 6: Configure Proxmox VE repo and import GPG Keys
echo “deb [arch=amd64] http://download.proxmox.com/debian/pve buster pve-no-subscription” > /etc/apt/sources.list.d/pve-install-repo.list

Import GPP Packages
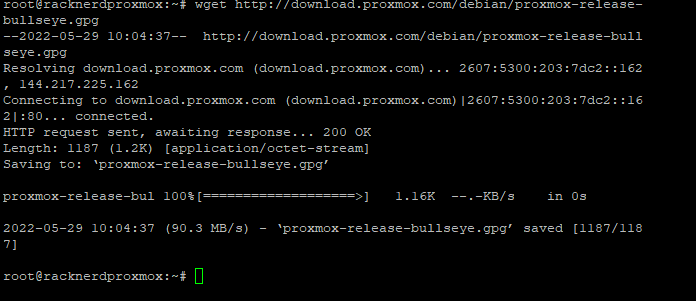
chmod +r /etc/apt/trusted.gpg.d/proxmox-ve-release-6.x.gpg # optional, if you have a non-default umask

Step 7: Update your repo and run full upgrade
apt update && apt full-upgrade
Step 8: Install Proxmox VE Packages
apt install proxmox-ve postfix open-iscsi
Once you enter above command, you will see a pop as below, if you don’t know what to choose, choose local only
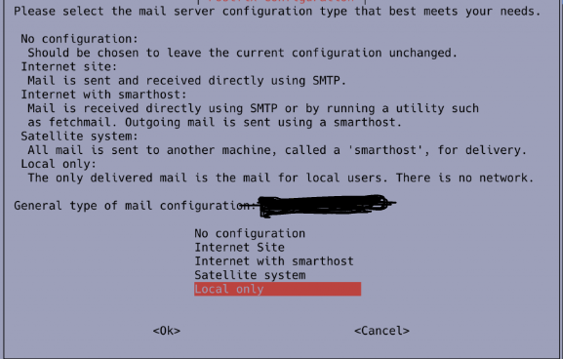
Step 9: Once installation is completed, reboot your server once again.
reboot
You should be able to choose the Proxmox VE in GRUB Menu upon boot. Once the server is back online, run the below command in SSH:
apt remove os-prober
Step 10: Access your Proxmox Web Interface
https://IP:8006
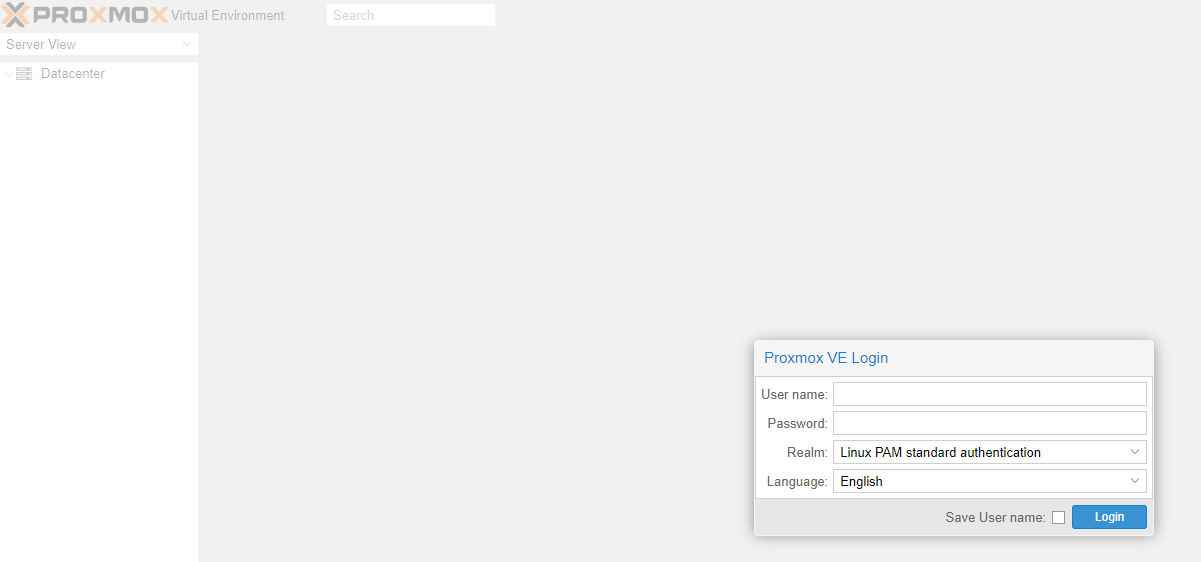
By now, Proxmox VE has been successfully installed on your server on your Debian and you can now access the Proxmox interface accordingly!